Delivery Time - Please note that delivery times are currently within 7 working days. *Some troughs, trees and premium products may take up to 14 days delivery.
Free Delivery - The majority of orders over the minimum order values shown below are delivered FREE to UK Mainland. Please note, we are unable to deliver to N.I. and the Republic of Ireland. (Exceptions apply - see Delivery Areas)
Christmas decorating doesn’t have to be expensive! You can decorate your homes and get into the festive spirit with the whole family using the wonderful evergreens from your gardens.
Conifer Wreath
Let’s get started!
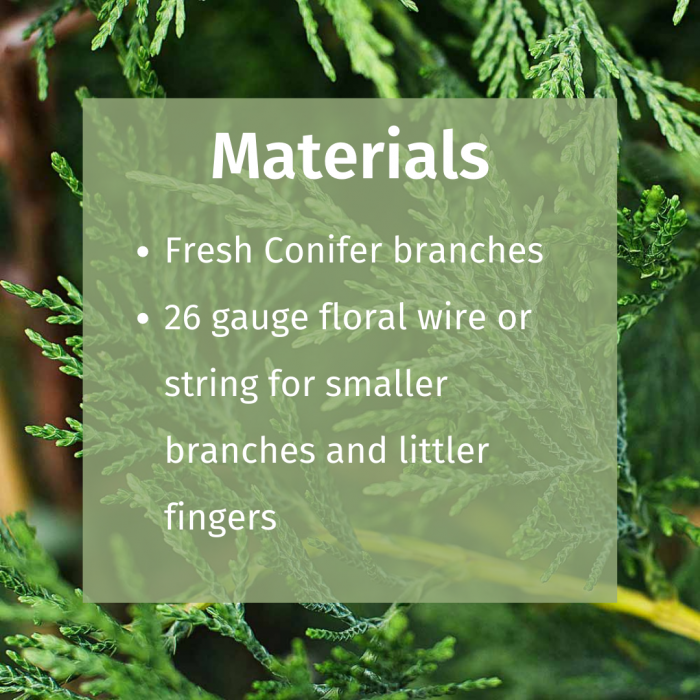
Cut a nice size branch off your hedge plants, at least 5cm in diameter. Take one off a lower branch that was due to be trimmed in the spring.
Grab your garden trimmers and snip off any side branches. Save all your pine trimmings as you will be using these for your wreath.
Making your wreath form...
You will need: 2 straight branches, measuring 2cm wide and about 70cm long. You can trim them down to any size you want, but it’s best to start with a nice length. Any straight branches will do as long as they are bendable. Newer growth will work better for this. Trim off any excess stems or branches and soak them down with warm water for 2 minutes. Dampening the branches will help them bend.
Lay your 2 branches side by side. Using your wire, fasten the branches together – it doesn’t have to look pretty, it only needs to be well fastened. Once the pine boughs are attached you won’t be able to see the wire. Once the first side is fastened, bend the whole thing into a circle and fasten the other side with more wire. If your shape is not quite round you can gently bend the branches into shape.
Let your new branch form dry before testing the structure. Gently tug on the sides to make sure the form will not come apart and that it is sufficiently wired on both sides. If it feels a bit loose, or not quite secure, add a bit more wire around the wobbly areas.
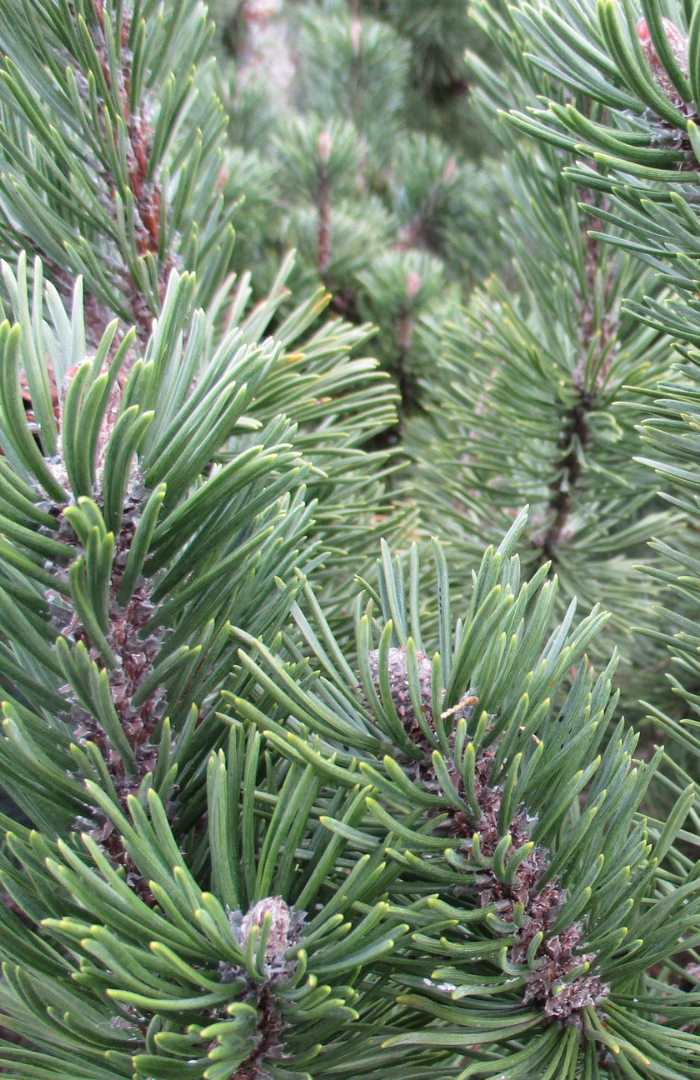
Look for lush green, full tips on your conifer branches as these will be perfect for your wreath. Separate the evergreen tips so that the best looking, most lush branches are set aside.
The first layer of pine branches is intended to create a base for the next layer, so it doesn’t need to look perfect! Make sure these tips are secured on the frame with wire around each evergreen tip. The length of the tip doesn’t matter, so long as it can bend with the frame.
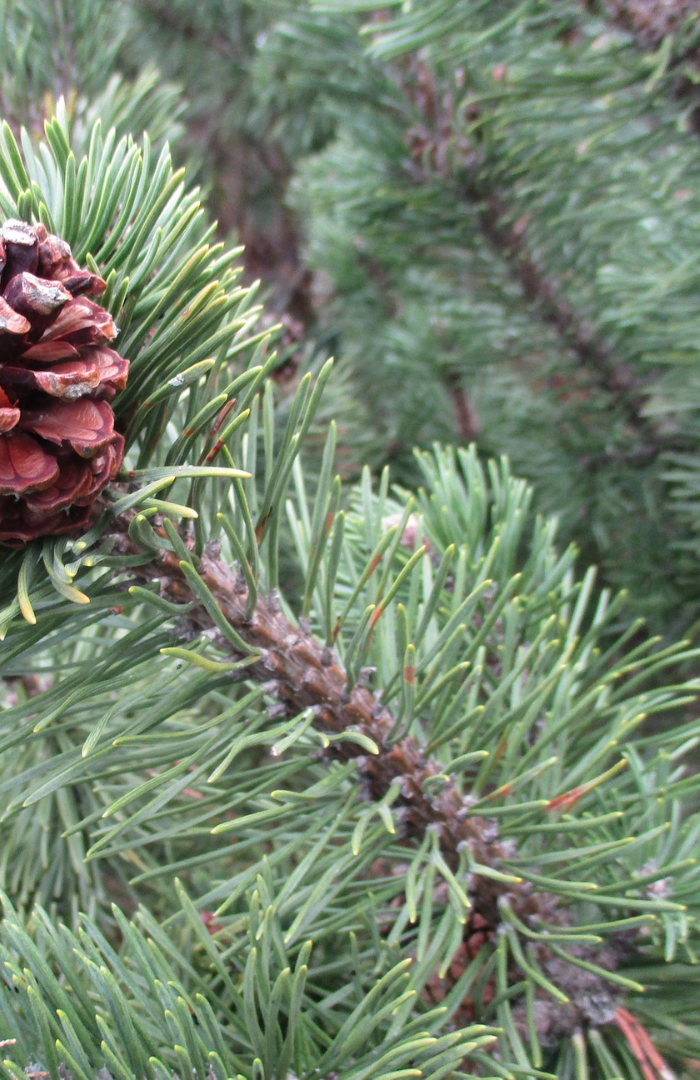
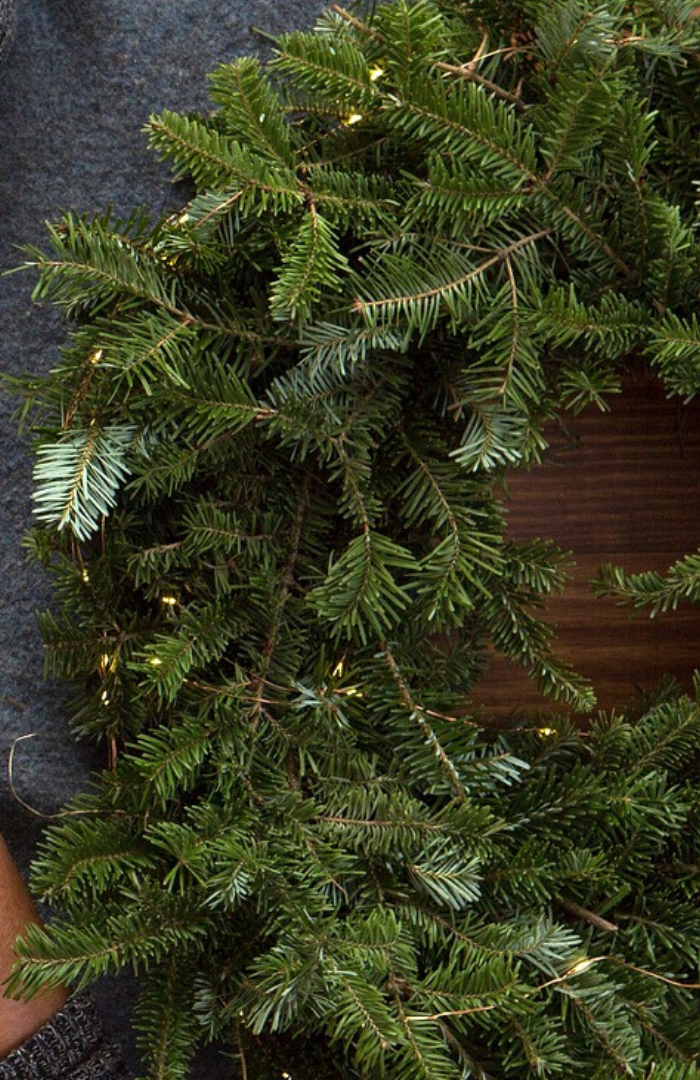
The next layer is the one to take some extra care on. Find your lushest, brightest conifer tips and start laying them down one by one. Overlap each tip around the wreath in the same direction. Each time you add a new branch, tie it down with wire, and then add the next and repeat all the way round your wreath. The tighter you make these overlaps, the fuller the wreath will look.
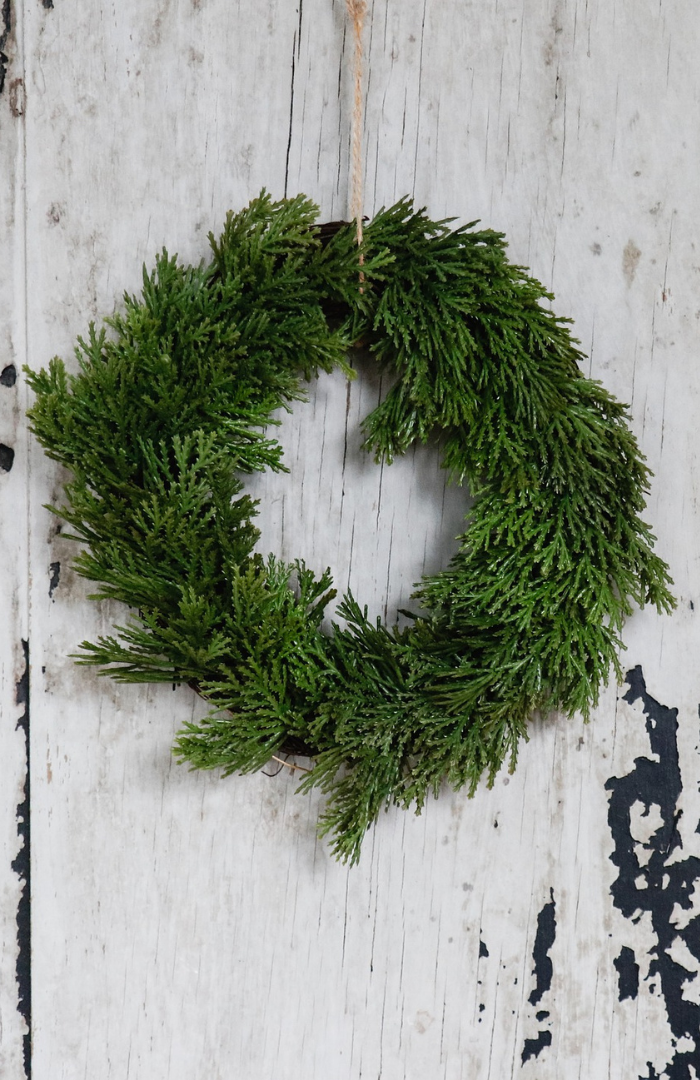
Hang your wreath!
Now you have your beautiful finished wreaths, loop some festive ribbon around the inner wire and tie to your door knocker or hang inside on a picture hook or window ledge.
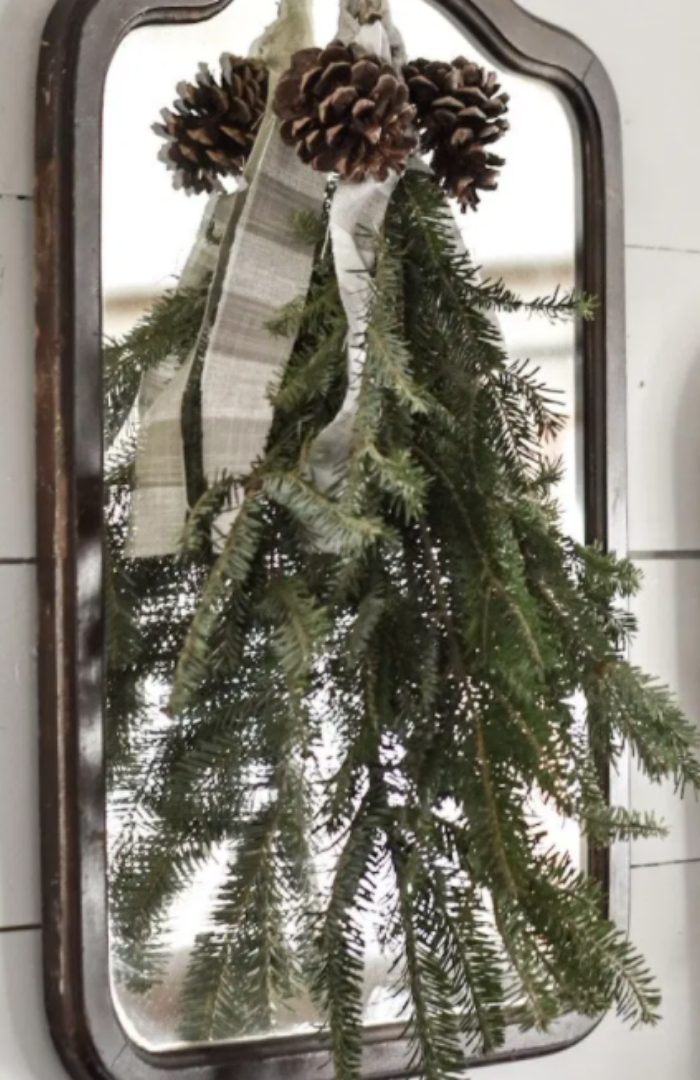
Conifer Wall Hanging
Looking for a slightly easier option to make with your family? A conifer wall hanging is the perfect family friendly decoration!
You’re ready to rock!
Gather your conifer branches from the garden, picking out a firm, strong branch to be your base
Begin to layer additional branches on the top of your base branch
Make sure your longer branch pieces are on the bottom and shorter ones are layered on the top so that your hanging sits nicely against a wall or window
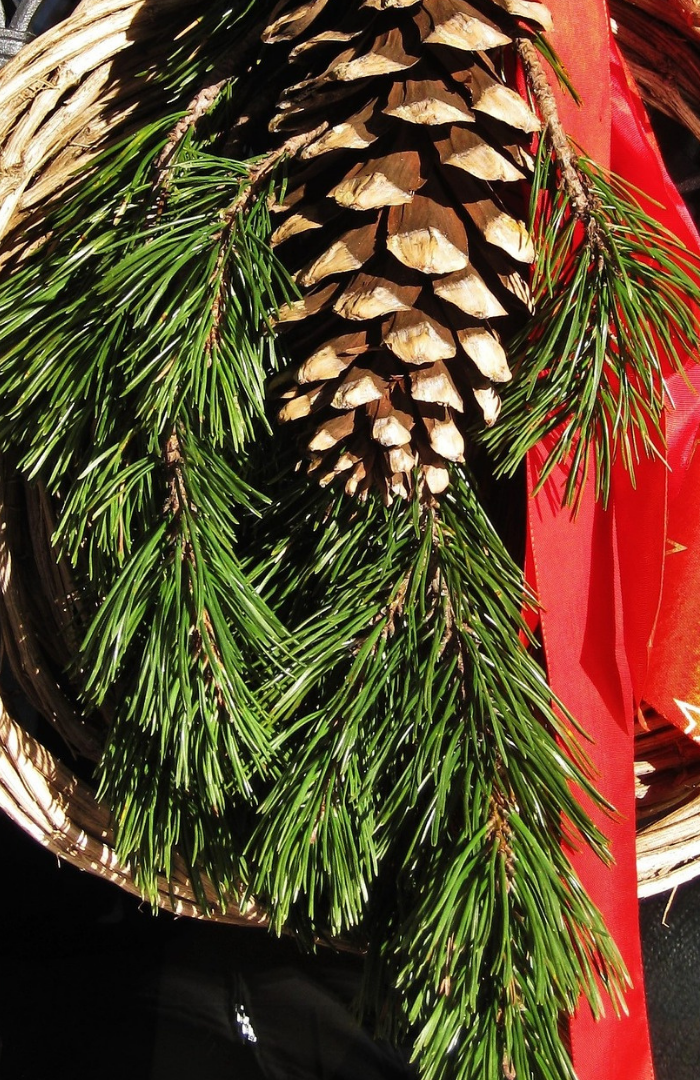
Get creative adding pine cones, holly leaves and berries
Wrap wire around the first several branches, then add in any other natural greenery such as holly foliage and wrap those around your base branch
Once you’ve added everything, trim off any branches that are out of your desired shape
To hang the your conifer creation, you can create a hanger out of the wire or use ribbon, pieces of fabric or twine to hang wherever you like around your homes
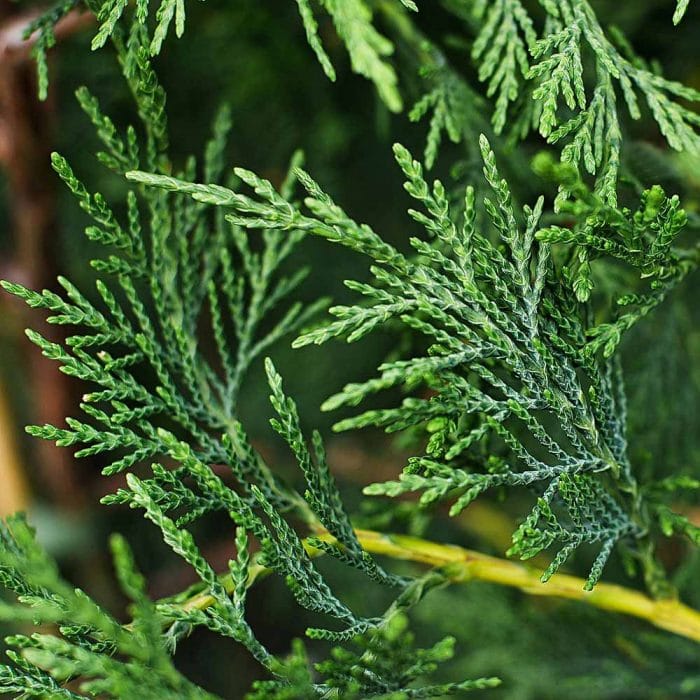
Conifers add the perfect Christmas touch to these festive decorations.
Yew Hedging
Western Red Cedar
Golden Leylandii
Green Leylandii
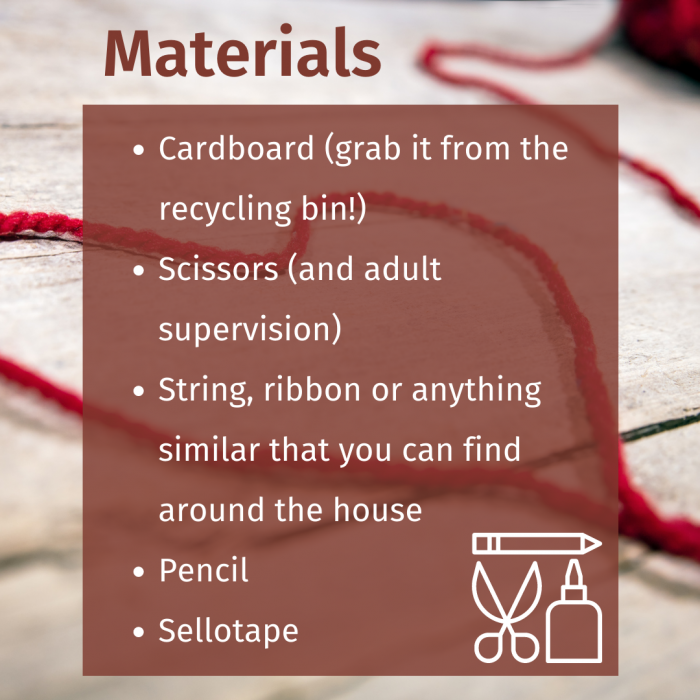
Christmas Tree Letter Hangings
These little tree decorations are great fun for the whole family! Get crafty with the kids and fill your tree with simple and beautiful letter hangings.
Let’s get started!
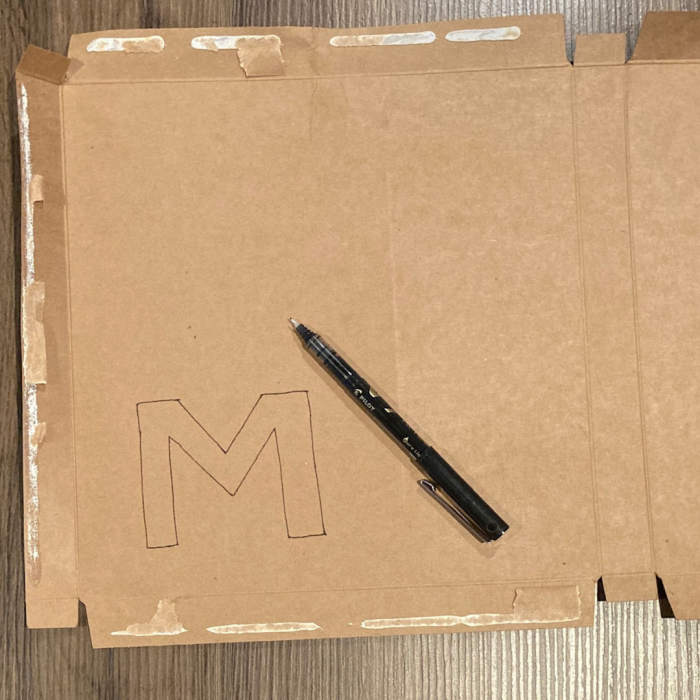
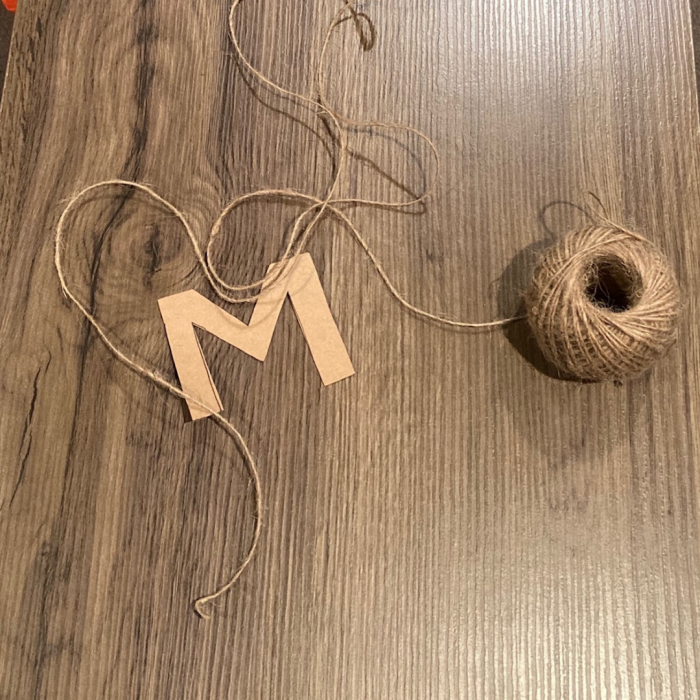
Start by drawing your letter on the cardboard. The ‘M’ shown below is approx 7cm tall. Cut out your letter (with adult supervision).
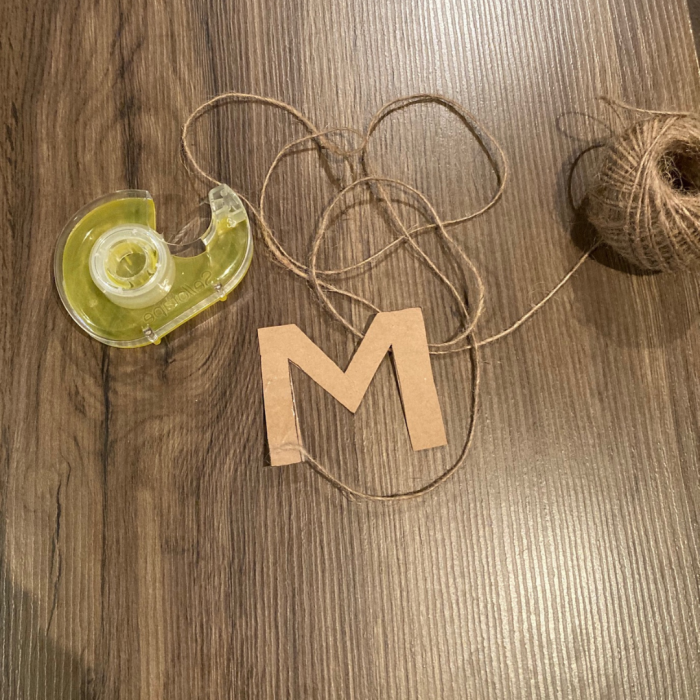
Now you have cut out your letter, tape the string to the end of one side as shown below…
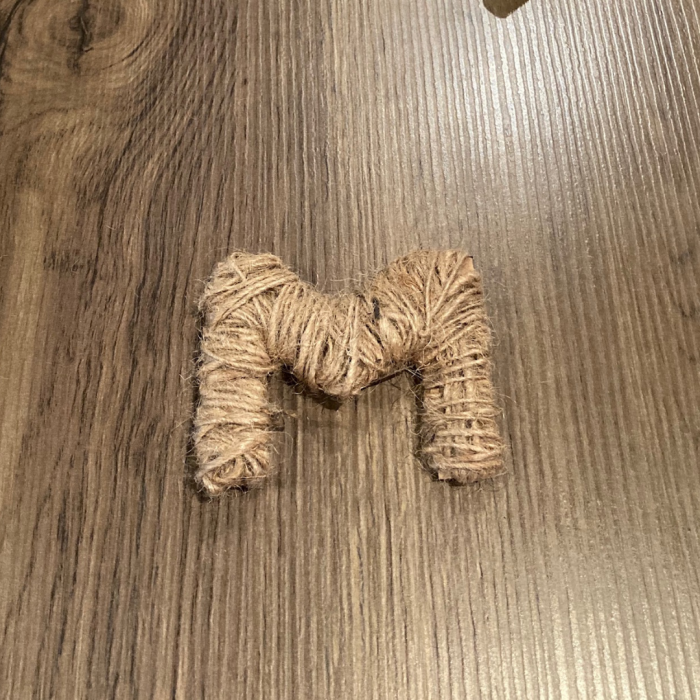
Now for the fun part! Wrap and wrap till your heart is content! The ‘M’ shown below has approx 12m of string wrapped around it…
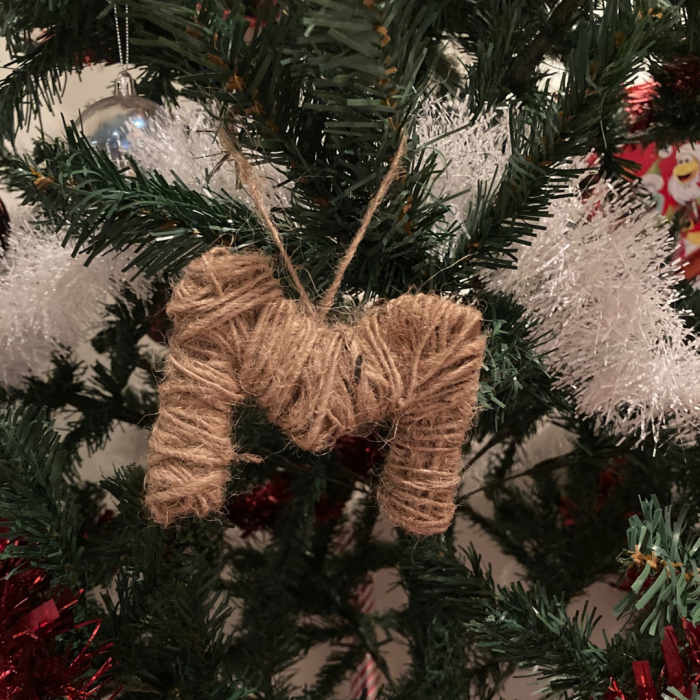
Once your letter is wrapped up nice and warm, turn it over and tape a loop onto the back. Your letter is now ready to be hung on your tree!
We would love to see your natural Christmas decorations! Share your creations with us on Facebook, Twitter and Instagram.